![]()
Cooler Master NCORE 100 MAX Fan Swap Mod
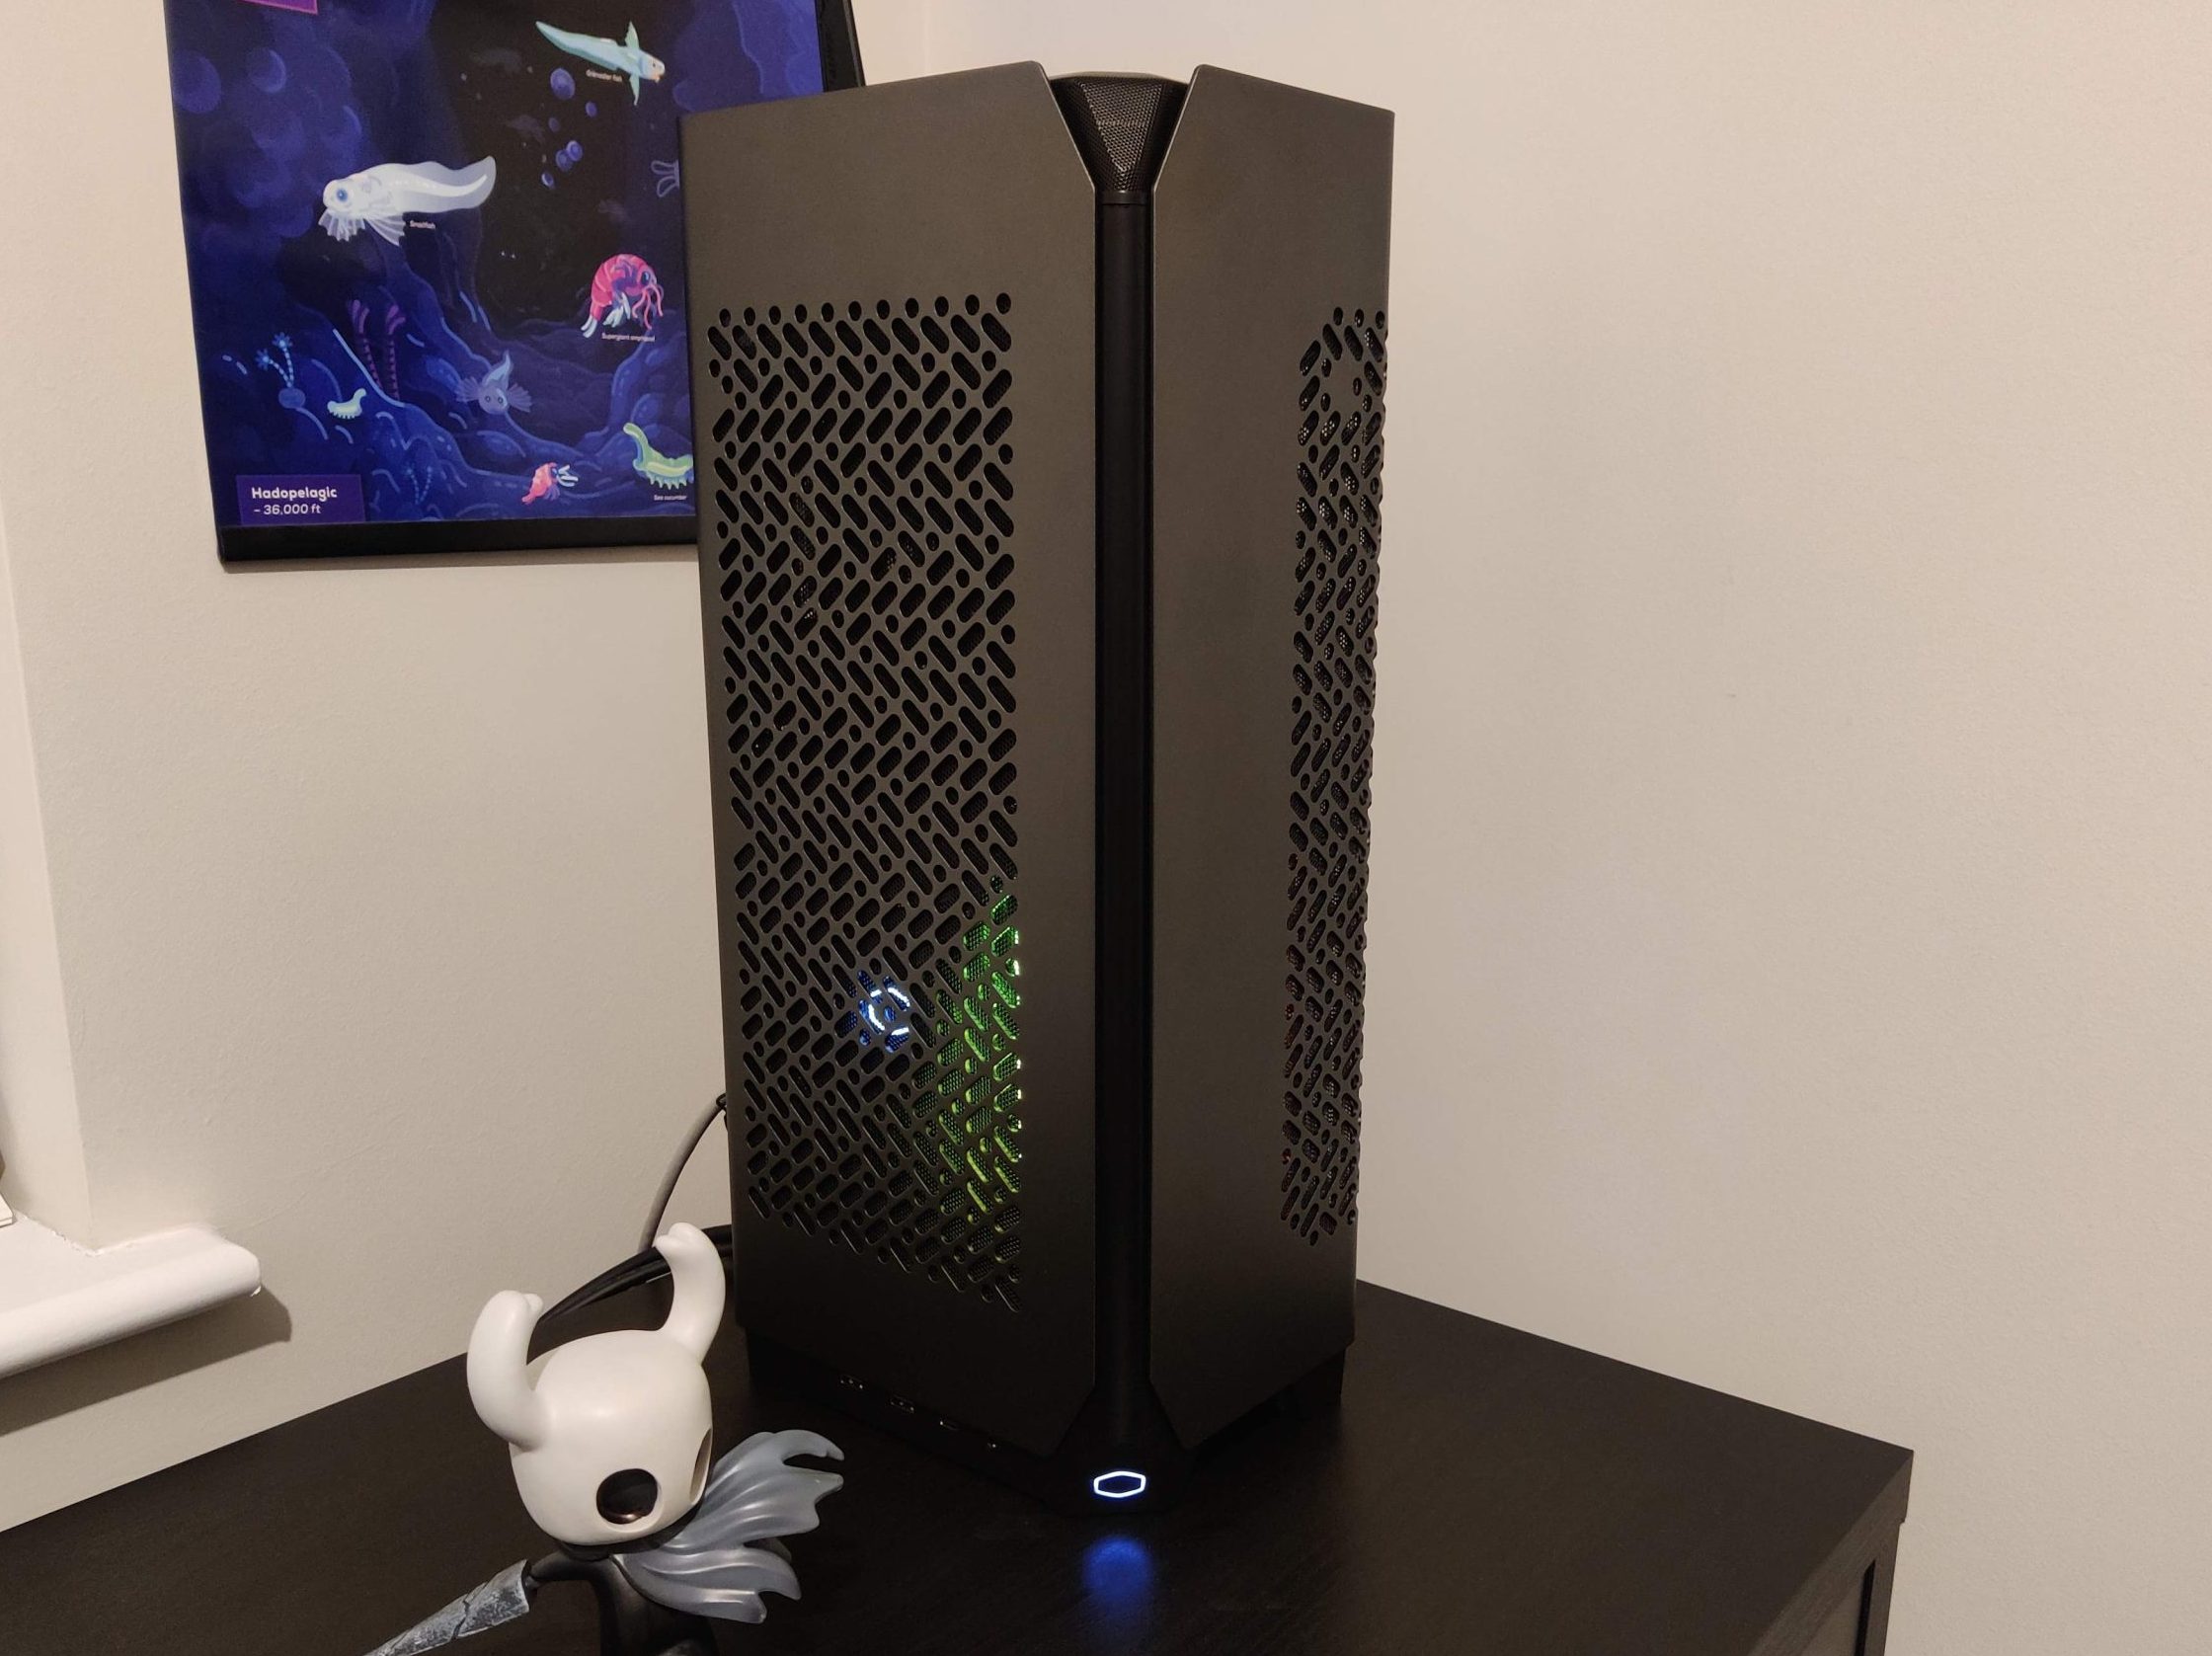
The NCORE 100 is a small form factor (SFF) case that looks absolutely fantastic. However, the stock fans from Cooler Master are quite noisy. If you’re considering getting the NCORE 100 MAX, setting aside some extra budget to replace the stock fans with Noctuas will make the case roughly 50% quieter.
With the stock fans, I was getting around 31dB at rest and 45dB under load. The loudest fan was the one under the AIO cooler, followed by the PSU, and then the case fan. After replacing them, the noise levels dropped to 26dB at rest and 40dB under load. I haven’t set any custom fan curves, all fans are running on silent BIOS defaults.
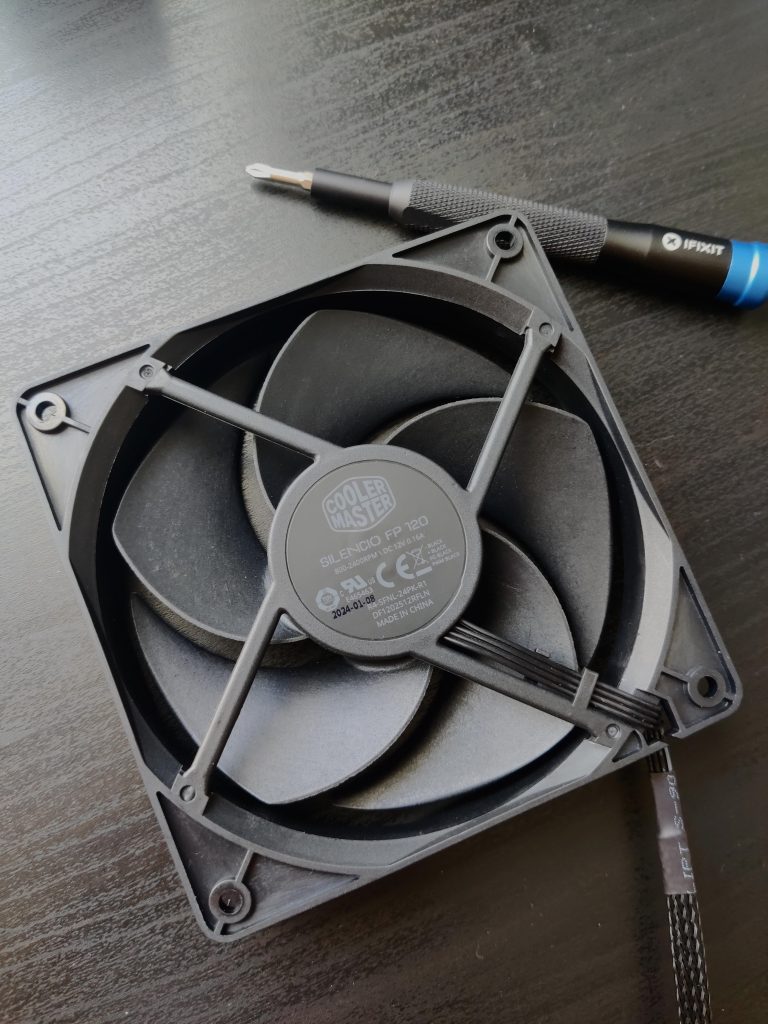
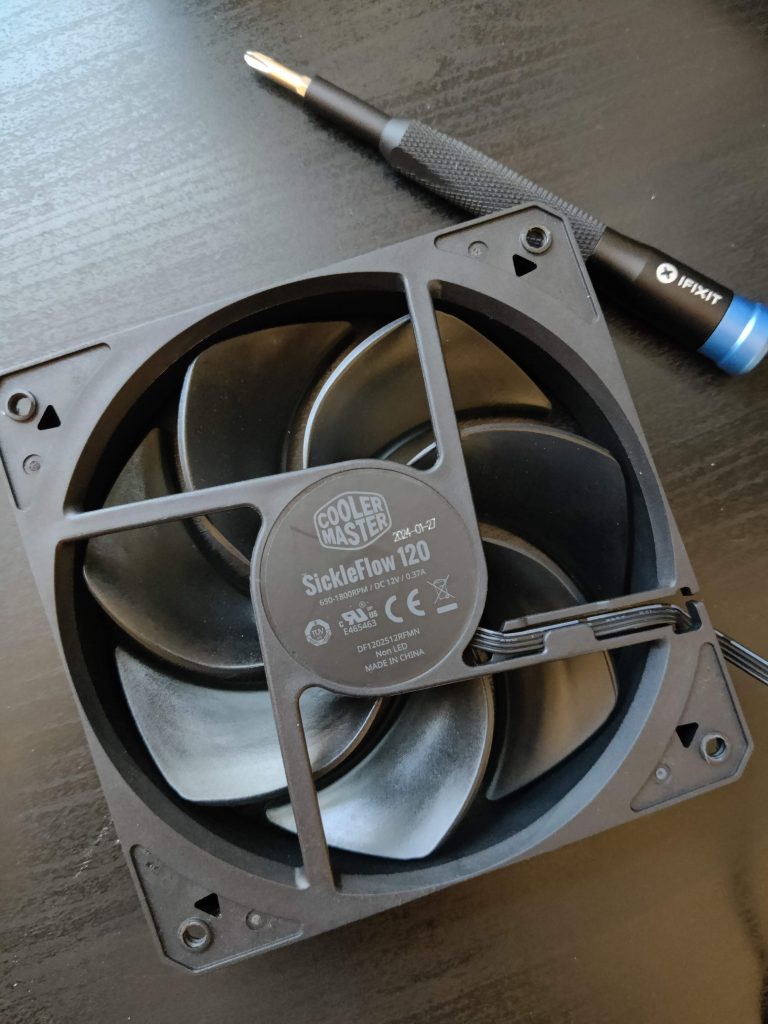
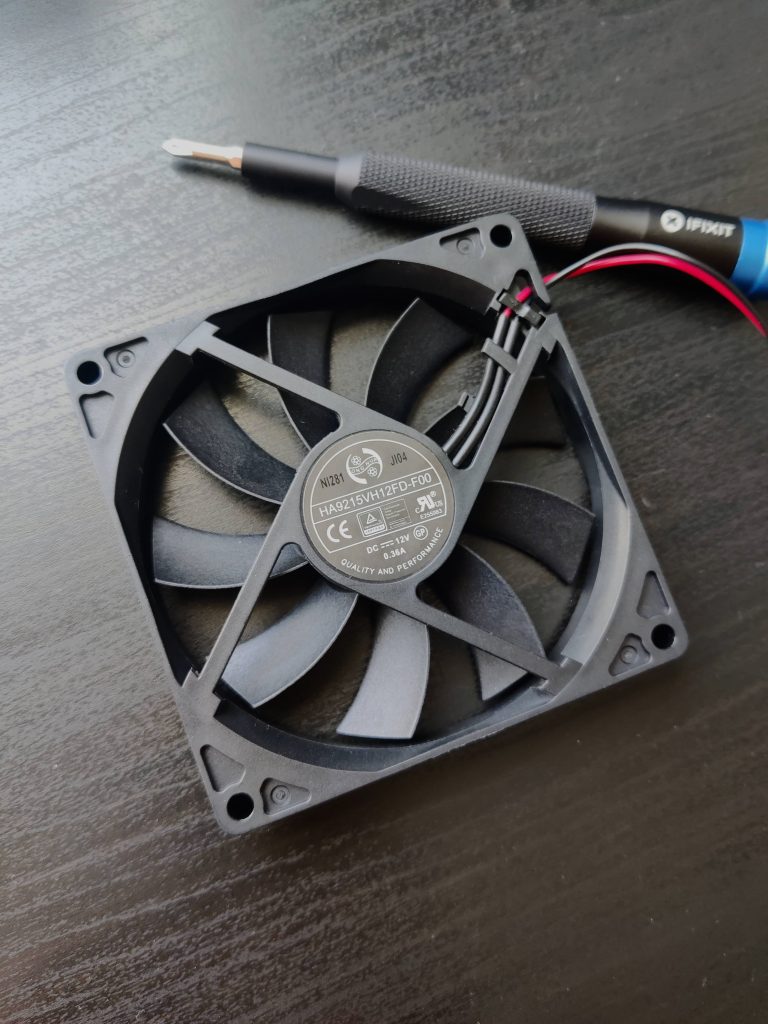
Below are the stock fans included with the case:
- AIO: Cooler Master Silencio FP 120 (120x25mm)
- PSU: ONG HUA (92x14mm)
- Case: Cooler Master SickleFlow 120 (120x25mm)
Note: replacing the PSU fan will void your warranty. Additionally, tampering with a PSU is dangerous and carries a risk of electric shock. Do not attempt this unless you have experience working with electronics.
Now let’s take a look at the Noctua replacements available for these fans:
- AIO: Noctua NF-A12x25 PWM chromax.black.swap (Amazon)
- PSU: Noctua NF-A9x14 HS-PWM chromax.black.swap (Amazon), or the brown/beige Noctua NF-A9x14 PWM (Amazon).
- Case: Noctua NF-A12x25 PWM chromax.black.swap (Amazon)
Replacing the AIO and case fans is as simple as unscrewing the old fan and swapping it out. However, the PSU fan requires a bit more work.
Swapping the PSU fan
As mentioned above, you can choose either the chromax.black.swap or the classic Noctua version of the NF-A9x14. The chromax.black.swap comes with a very short cable, which can be extended using the included 30cm 4-pin to 4-pin extension. We’ll keep the fan’s original wiring intact and instead modify the extension cable. If any mistakes are made along the way, you can always replace the extension cable with a new one from Noctua and start again (Amazon).
This tutorial is for the chromax.black.swap version of the fan. If you’re using the classic version of the NF-A9x14, you can follow this guide available on Reddit.
Before getting started, please note that the stock PSU fan has a 2-pin JST-XH connector which is not sold by Noctua. You can either replace the connector yourself if you have JST male connectors and a crimper at hand, or buy a 30cm 4-pin to 2-pin adapter on Amazon or AliExpress.
Required tools:
- Screwdrivers
- Cable crimper
- JST-XH male connector
- JST-XH female pins
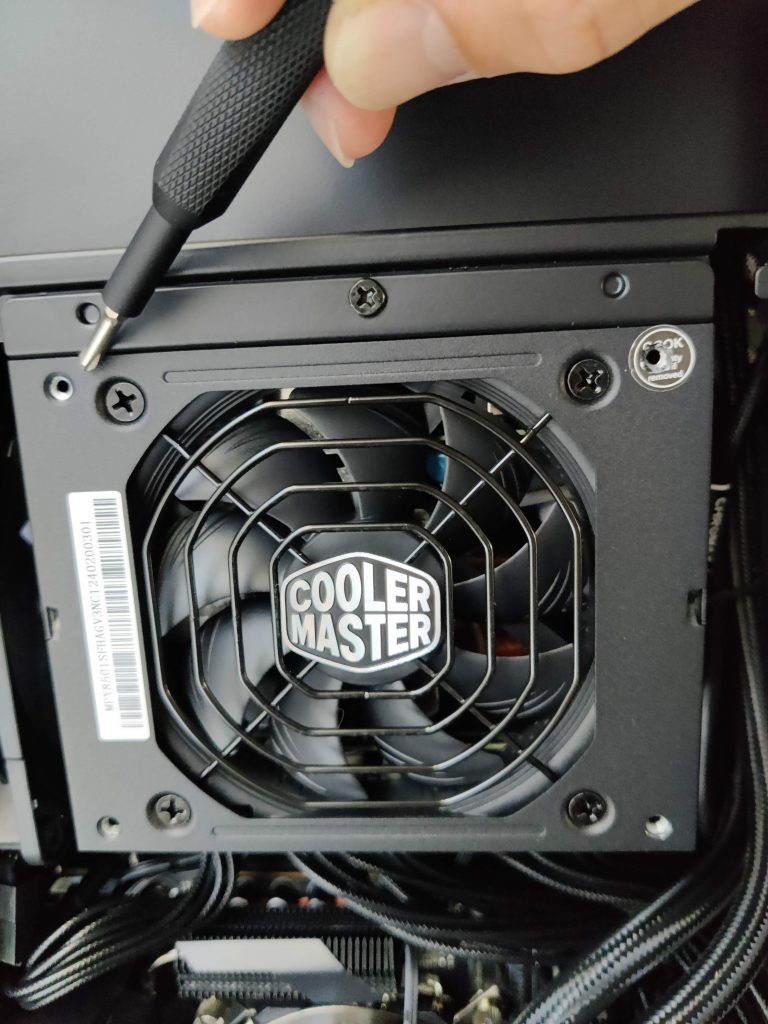
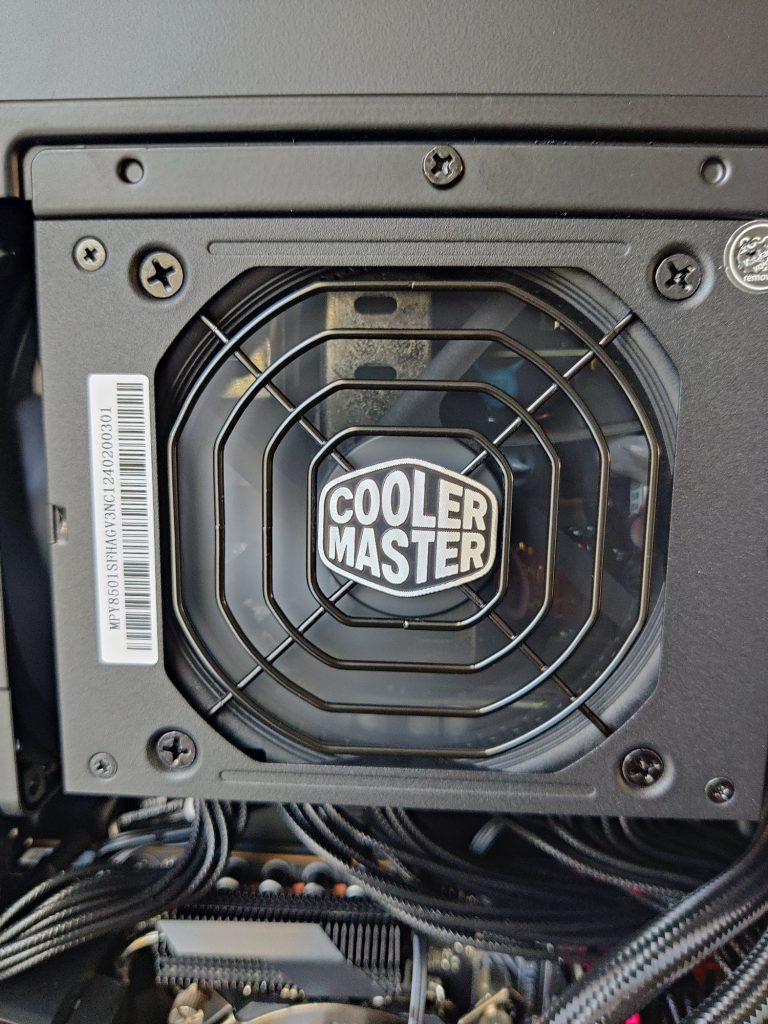
Start by unplugging your PC from the wall. Then, open the side panel of the case where the PSU is located and unscrew the four screws, one in each corner of the PSU:
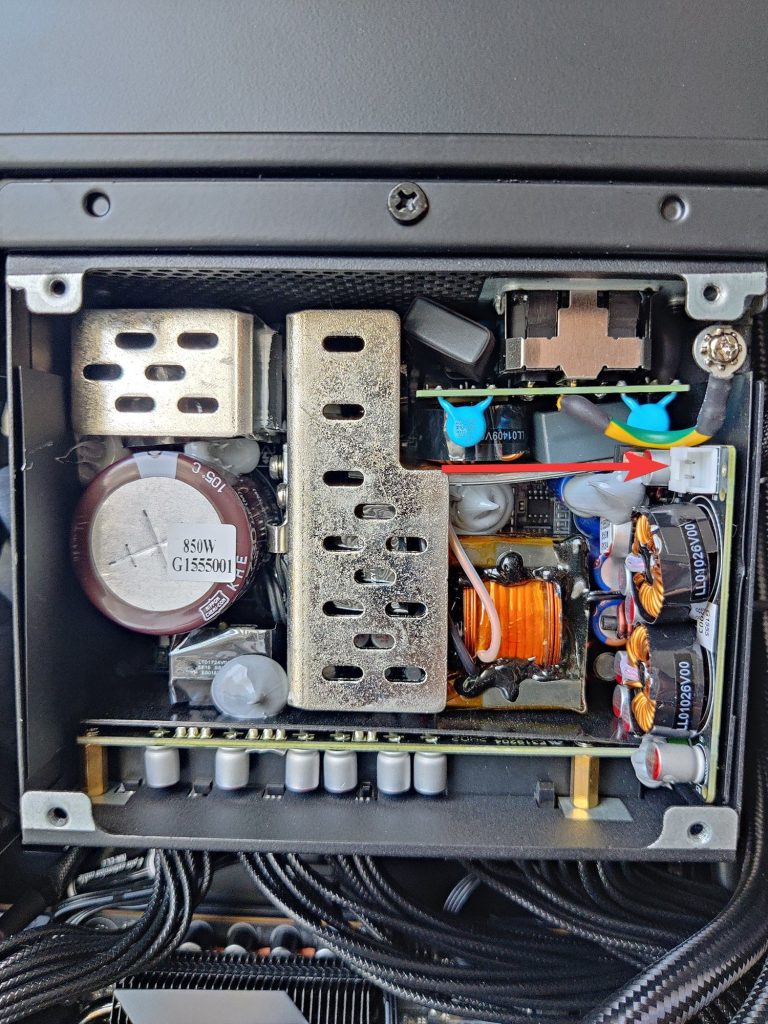
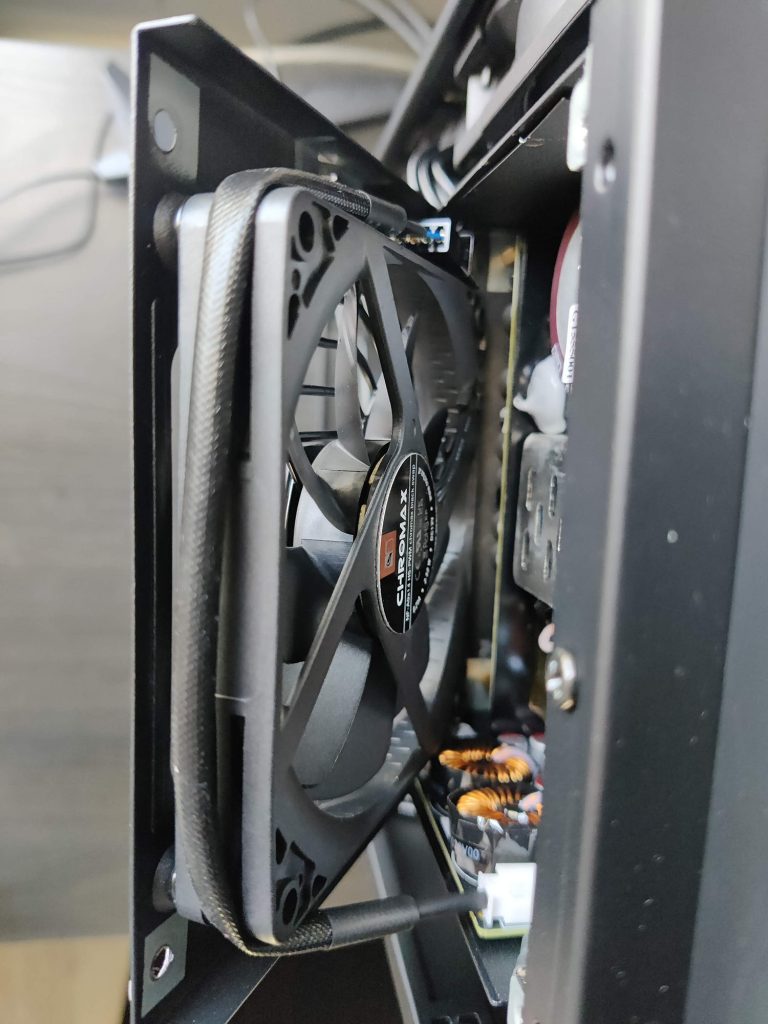
Carefully unplug the fan from the PSU, taking care not to touch anything on the PSU board:
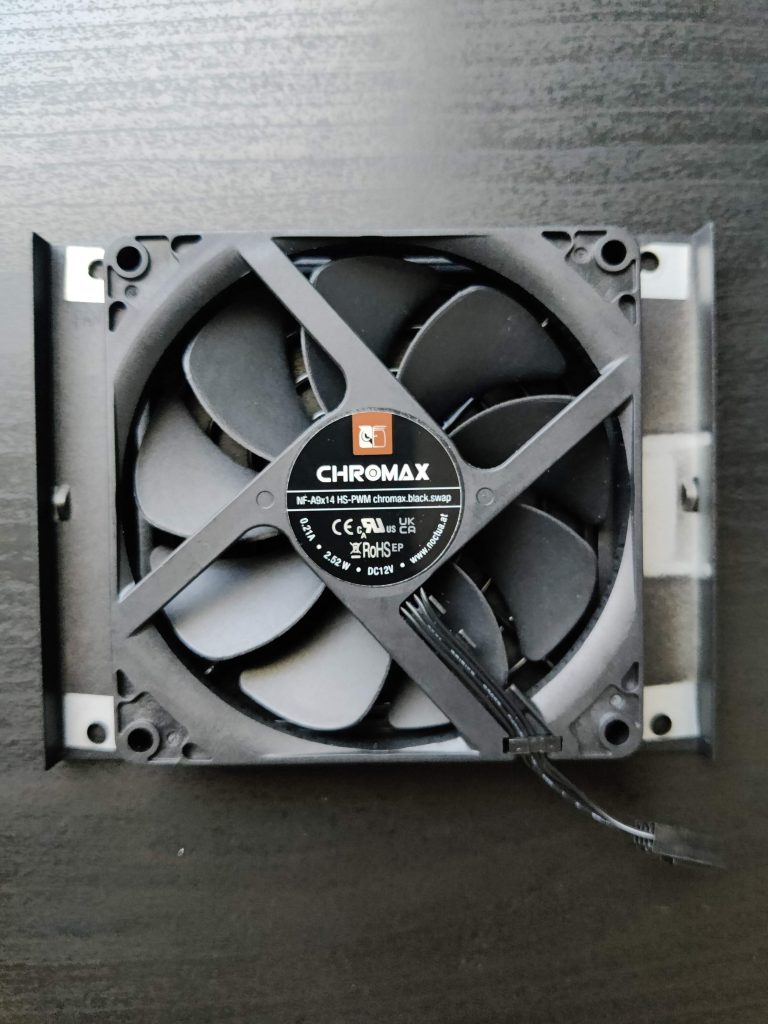
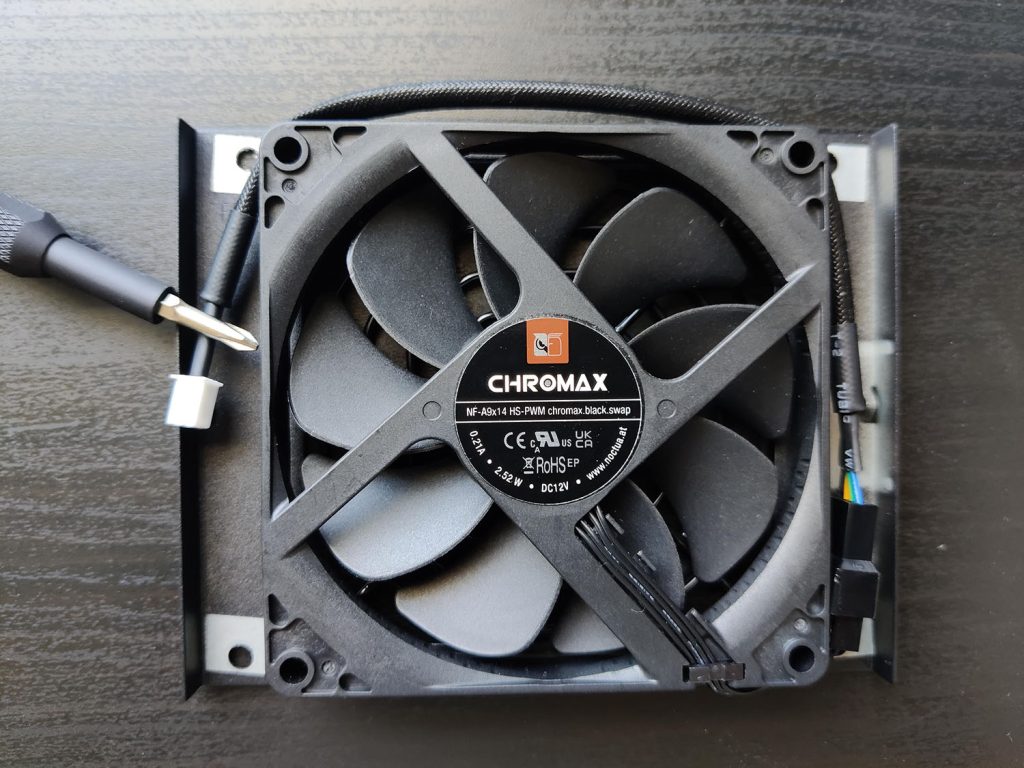
Swap out the ONG HUA fan for the Noctua NF-A9x14 HS-PWM chromax.black.swap, and secure it in place with the included screws:
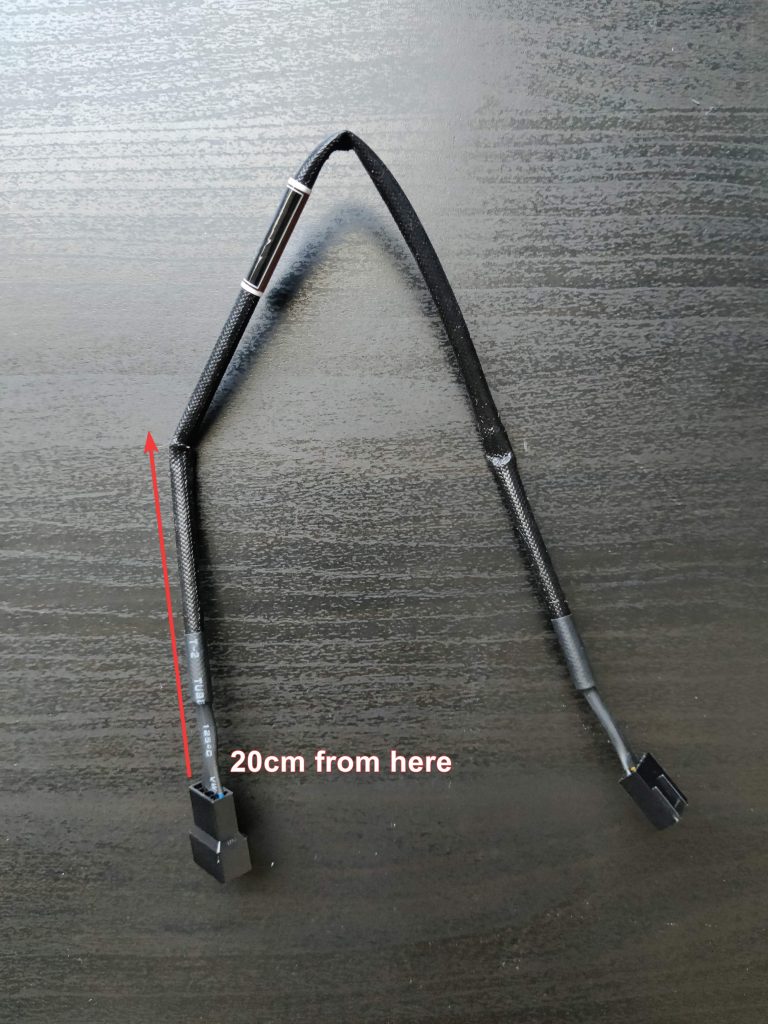
Cut the included extension cable exactly 20cm from the 4-pin header towards the other end:
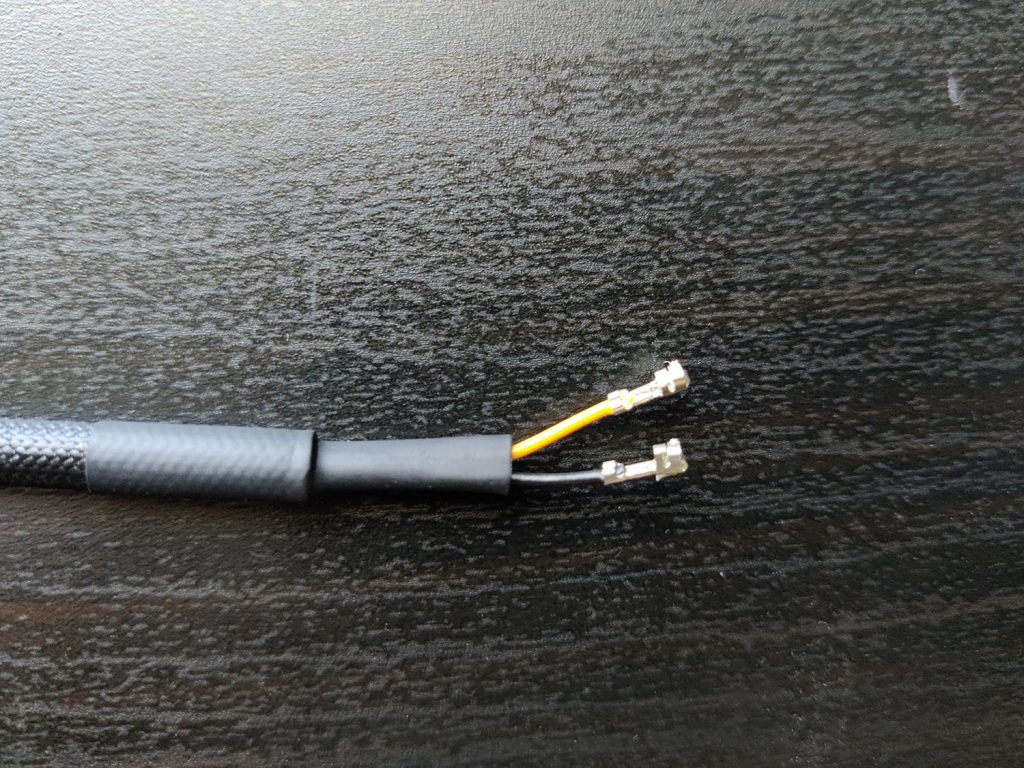
Separate the wires and focus only on the black and yellow ones. For more details about how Noctua fans are wired, see here:
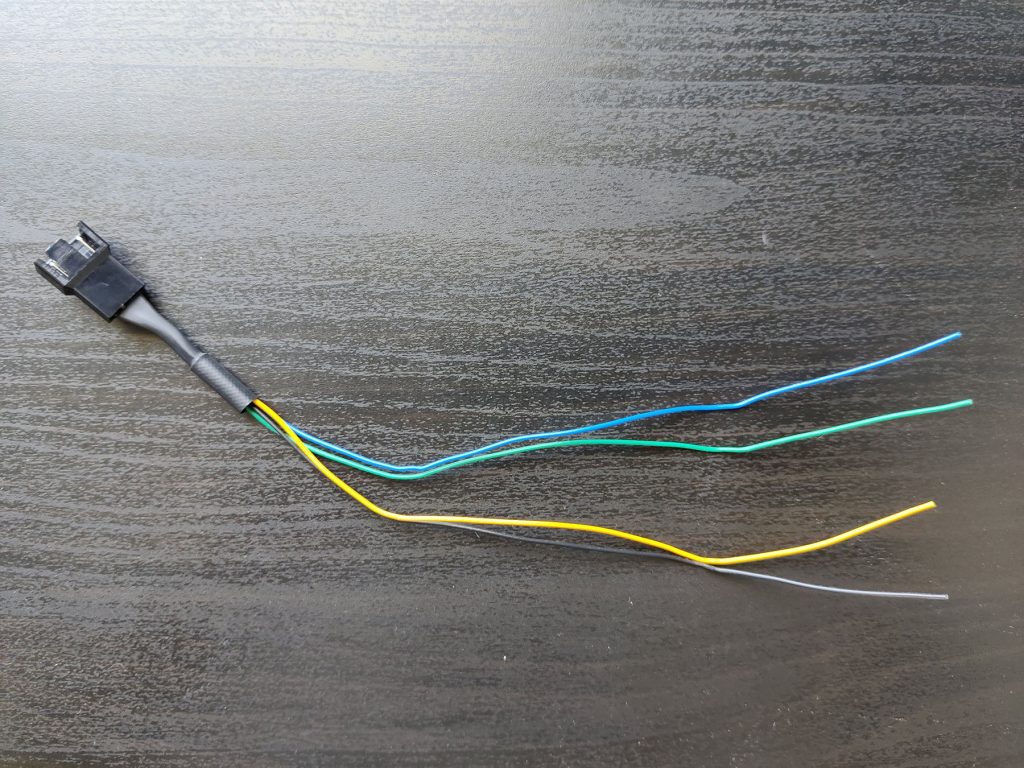
Cut the blue and green wires short. They wont be used:

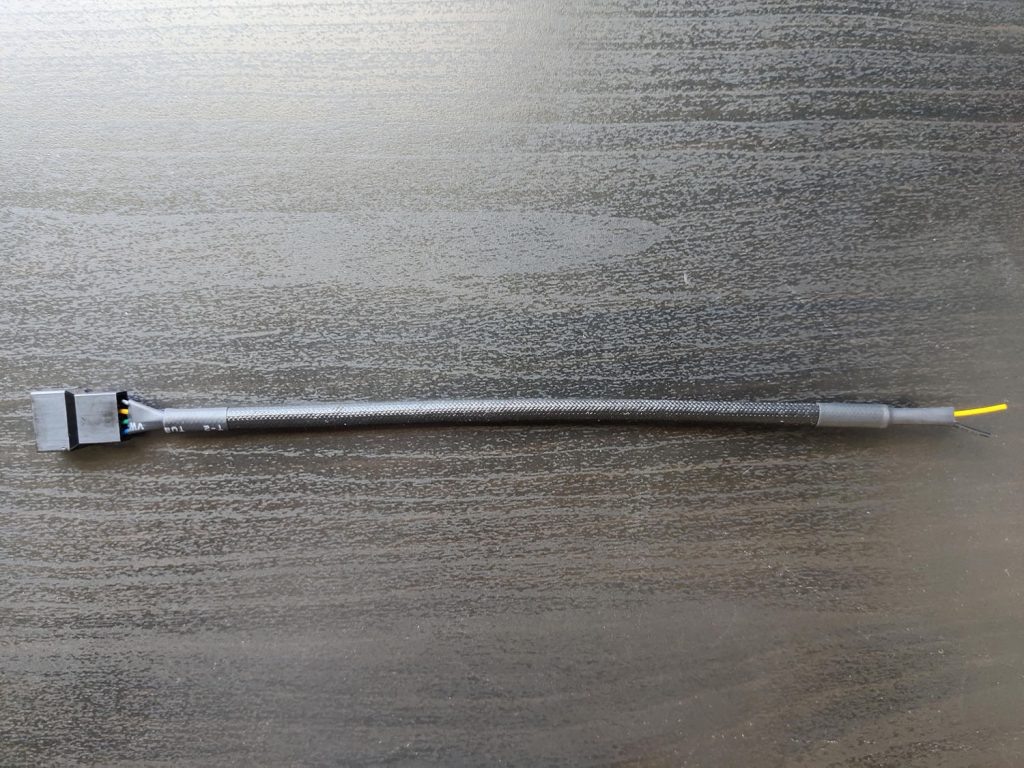
Cut an extra 2cm off the sleeve and slide it back on. It should look like this:
Crimp female JST-XH connectors onto the black and yellow wires:
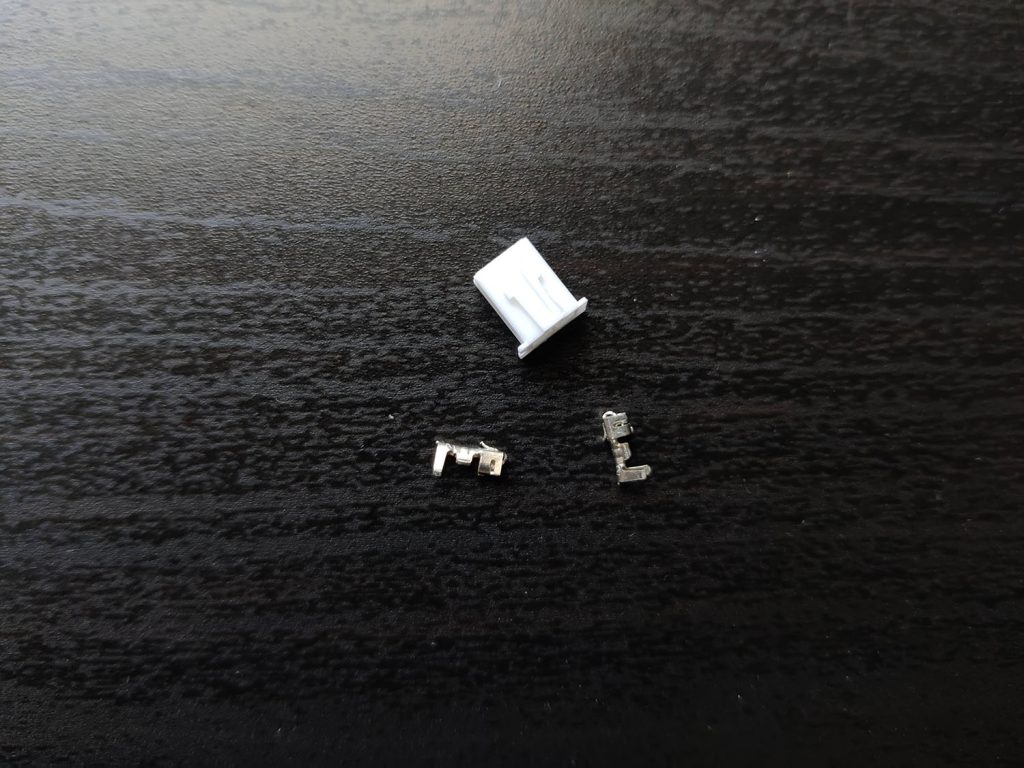
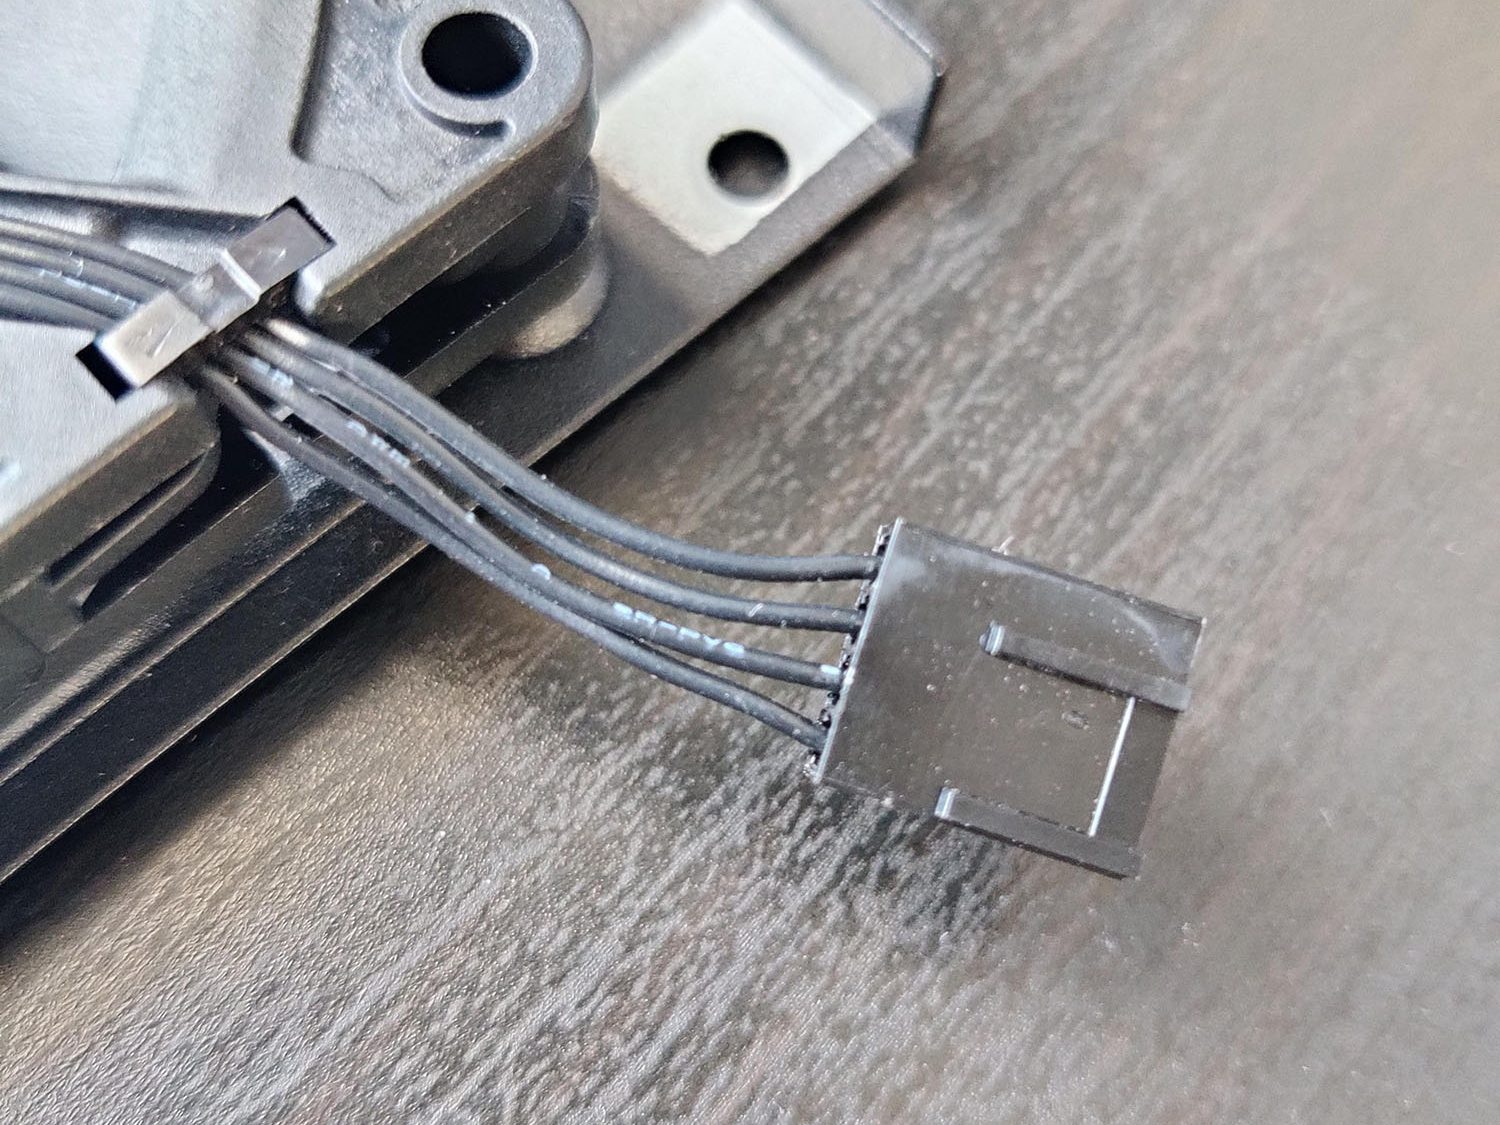
Insert the wires into the male JST-XH connector, mirroring the exact positions shown in the image below:
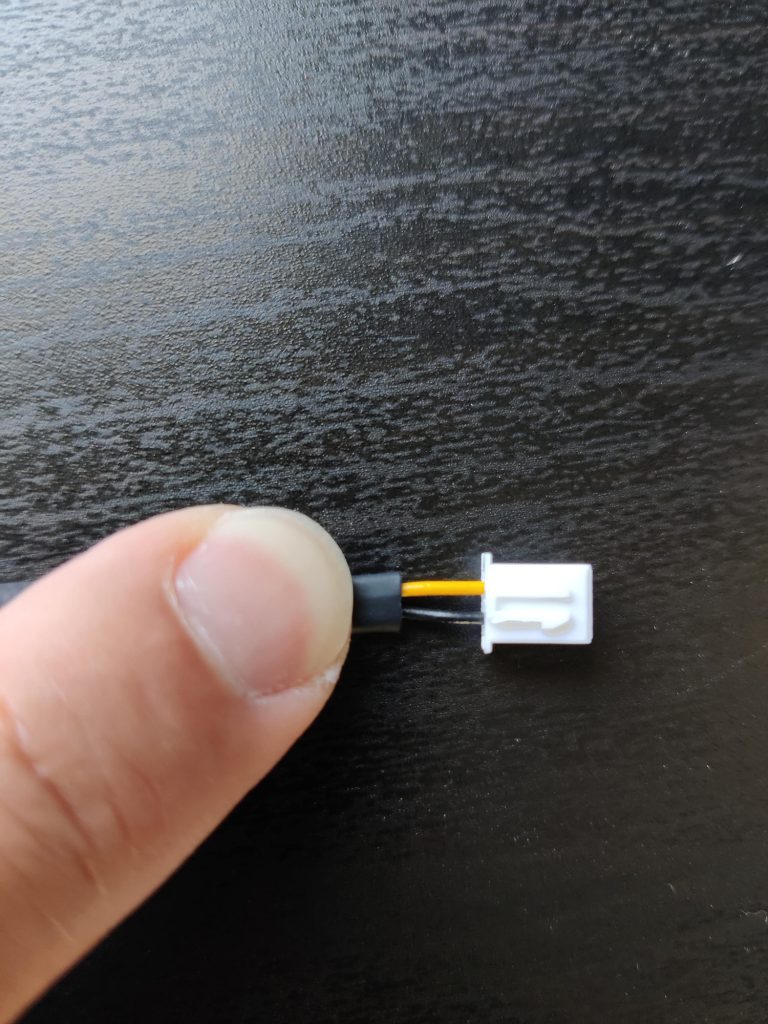
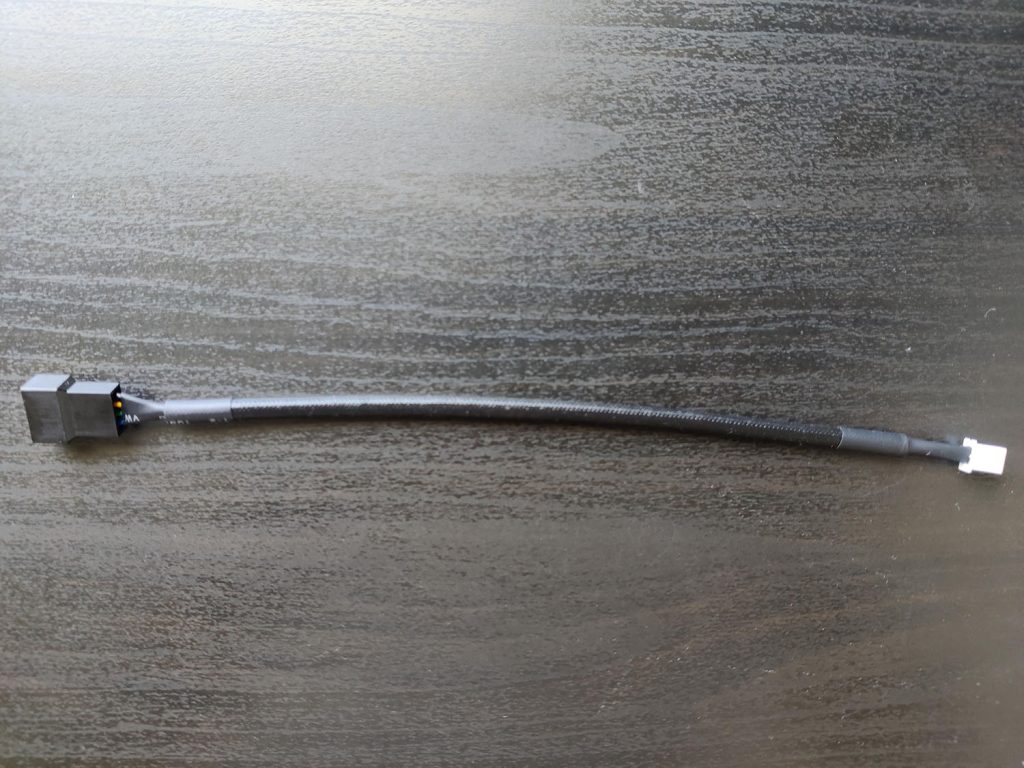
The cable should end up looking like this:
Now comes the most difficult part: installing the fan back in place. This PSU is very compact and dense, with no wiggle room for extra wiring, hence why we cut the wires to very specific lengths earlier. You will need to wrap the wiring around the fan from right to left and connect it to the PSU connector. Unfortunately, you won’t be able to hide the black Noctua connector on the left-hand side of the fan, as the PSU has coils in that area.
This is how the wiring should look before screwing the fan plate back in place:
End result:
My fan is not spinning: DON’T PANIC! This isn’t mentioned anywhere else, but the chromax.black.swap version of this fan can stop completely at 0% PWM. Since the PSU doesn’t have a PWM cable, it relies on a simple voltage signal to operate. The stock ONG HUA fan was always running, even during a cold start; however, the Noctua fan will stop when the PSU is cold. This caught me out when I first installed the fan, as I thought it wasn’t receiving power or that I had messed up the installation. It took a minute or two for the fan to start once the PSU was hot enough to require cooling. This results in an ultra-quiet PSU setup.
Happy modding!